Last updated:
How to Open SketchUp Files in a BIM Model Without Losing Your Data
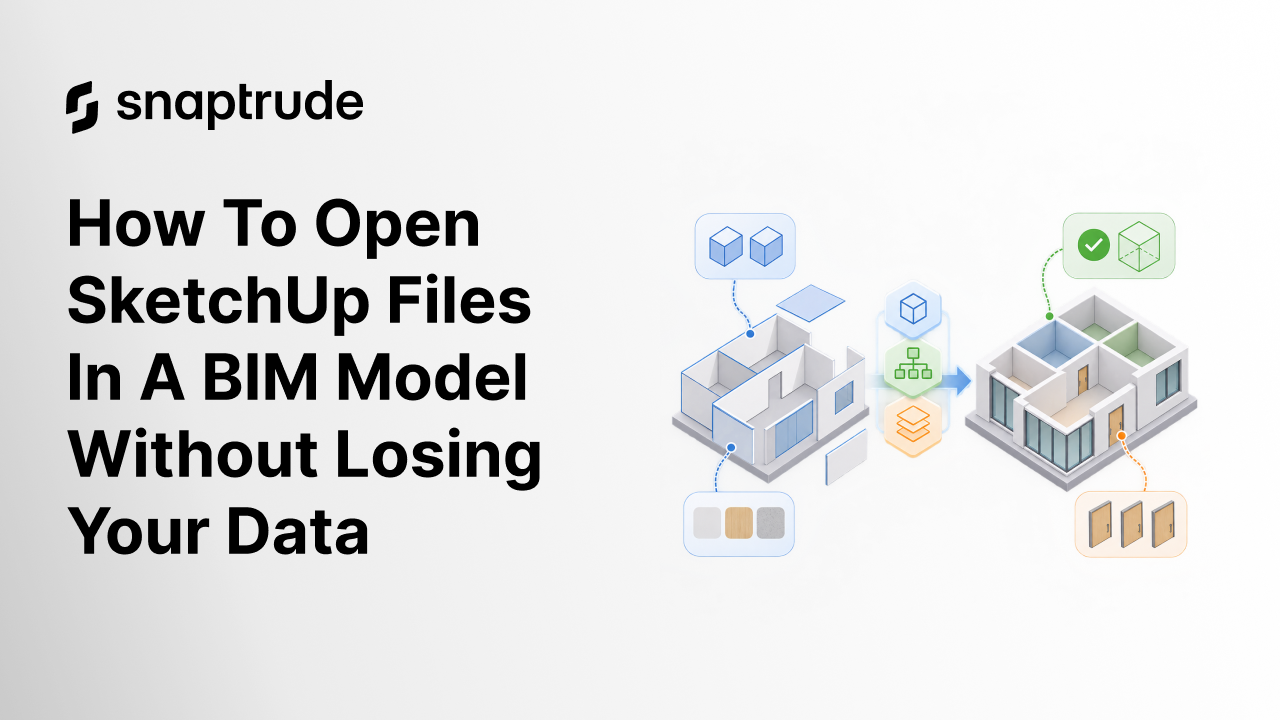
The SketchUp file looks perfect on screen. Then it lands in the BIM model. The walls have no thickness, the doors are loose faces and the materials are gone.
Nothing broke, exactly. SketchUp stores geometry, while a BIM model expects objects that know what they are. Data gets lost in the gap between the two.
This guide shows how to cross that gap. You will audit the file, choose an import route, bring the model in and check what survived. We name the limits of each route, including Snaptrude's own.
The short answer
Clean the file first. Name and tag every building element, then save a compatible version. Choose the import route that matches what you need, and verify the result before anyone builds on it.
Use native .skp import when you want the geometry inside the BIM model. Use IFC when classes must travel with the geometry. Use mesh formats only for context.
The steps below follow that order. Each one lists what to do, what to watch and where data usually slips. Treat the whole process as a conversion, not a copy.
What data can you lose between SketchUp and BIM?
SketchUp models are built from faces, edges, groups and components. A BIM model is built from objects such as walls, slabs, doors and rooms. Each object carries a type, properties and relationships.
Six kinds of data are at risk when a file crosses over:
- Geometry: Open edges, reversed faces and stray lines can turn a clean-looking solid into a mesh with holes. The model looks fine until something tries to measure it.
- Units and origin: A model drawn far from the origin arrives misplaced. One in the wrong units arrives at the wrong size.
- Materials and textures: Some routes carry colors and some do not. Plan to check them every time.
- Tags and names: Tags usually become layers in the receiving model. Unnamed groups become unnamed objects.
- Component structure: Repeated components can arrive as one-off copies. That bloats the model and breaks later edits.
- Classification and properties: SketchUp has no native wall or slab object. Unless you assign a class, the BIM model has to guess.
The loss is rarely dramatic. It is usually small, silent and found late, which is why the checks later in this guide matter.
Many firms close these gaps by remodeling from scratch in a second tool. Snaptrude's post on the parallel workflow tax describes what maintaining two models costs a team. A careful import avoids that second pass.
Which import route keeps what?
Four routes cover most SketchUp handoffs. Each one trades fidelity against convenience. The table summarizes what carries over and what you should test.
The route matters more than the tool. SketchUp's IFC documentation warns that some entities may not export. It recommends double-checking the file immediately after exporting it.
Which route should you choose?
Choose native .skp import when the SketchUp model is your design and you want to keep working on it. The geometry arrives in one step, and you can convert it to BIM objects inside the model. It suits massing studies and early schematic work.
Choose IFC when the receiving tool needs classes, or when a consultant will open the file in a different application. It is a neutral format, so it travels well. It also depends on the classes you assigned, so the preparation steps matter more.
Choose OBJ or FBX when the geometry is context only. A neighboring building or a tree does not need to be a BIM object. Choose DWG when you need plans, sections or elevations to trace over.
You can mix routes in one project. Send the design through the native import, and bring context in as a mesh. Keep each source file named and dated so the team knows which came from where.
Step 1: Decide what the BIM model needs from the file
Start with the receiving task. Ask whether the SketchUp model is a massing to build on, background context or a finished design. Each answer points to a different route.
Snaptrude's CAD-to-BIM conversion checklist offers a useful test. Judge a converted model by whether it works for its purpose, not by whether it resembles the source. The same logic applies to SketchUp files.
The checklist also advises keeping an untouched copy of the original. Do that now. Record any cleanup that could change geometry or meaning, so you can explain a difference later.
Step 2: Audit and clean the SketchUp file
A bloated file imports slowly and hides problems. SketchUp's own cleanup guidance starts with purging unused items. The steps are short:
- Open Window, then Model Info.
- Select the Statistics tab.
- Click Purge Unused at the bottom of the window.
The same page notes that reducing segments on arcs and circles is the easiest way to cut polygon count. Reusing materials and lowering image resolution also helps. Heavy curves and oversized textures add weight without adding BIM value.
Then check the basics that a purge will not fix. Confirm the model units match the project. Move the model close to the origin if it was drawn far away.
Hunt for stray edges, reversed faces and duplicate geometry. Explode nested groups that serve no purpose. Delete hidden geometry you no longer need, because hidden items can reappear or cause confusion after import.
Snaptrude's help center advises the same habit for CAD files: purge before upload and check project units first. Imports keep the exact dimensions and units of the source. That is helpful when units match, and costly when they do not.
Step 3: Name, tag and group by building element
A BIM model needs to know what each piece is. You can help it by organizing the SketchUp file the way the building is organized. Create one tag per element type, such as walls, slabs, roofs, doors and windows.
Keep each element in its own group or component. Give every group a clear name. A group called "Wall_North_L2" survives a handoff better than one called "Group #47."
Use components for repeated items such as windows and doors. A change to one component then updates every copy. Loose copies force you to repeat the edit, and they are easy to miss.
Separate context from design. Place neighboring buildings, trees and people on their own tags. You can then leave them out of the import or send them as mesh context.
Step 4: Assign IFC classes when the route needs them
If you will hand the model to another BIM tool through IFC, classes matter. They tell the receiving software that a solid is a wall and not a generic shape. SketchUp's documentation says it assigns class names to parts of your model, such as tags, components and materials.
IFC is an open, vendor-neutral standard. buildingSMART's IFC page lists 4.3 as the latest official version.
Three export settings deserve attention. The Standard IFC Spatial Hierarchy option creates entities such as IfcProject, IfcSite and IfcBuilding. Under Geometry, you choose whether to export hidden geometry and whether to use tessellation or body representation.
Version support also varies. SketchUp's help page says 2025 and older versions export IFC 2x3 only on Windows, while macOS offers IFC 4 only. SketchUp 2027 introduced compatibility with both.
A simple pairing keeps tags and classes aligned. Class names follow the IFC schema.
Check which IFC version your receiving tool expects before you export. A mismatch is a common reason a file opens but behaves badly. Test with a small slice first.
Step 5: Save a compatible version
Snaptrude's help center asks for files saved in SketchUp 2024 or earlier. A file saved in a newer version shows a warning or an error on import. The fix takes a minute.
In SketchUp, choose File, then Save As. Pick the 2024 file version, or an earlier one, and save a copy. Import that copy and leave the original alone.
Other tools set their own version limits. Read the importer's documentation before you start. Saving a compatible copy is far cheaper than debugging a failed import later.
Step 6: Import into the BIM model
Here is the native route in Snaptrude, based on its help center. Imports land on the active layer, so choose the layer first.
- Open your project and set the target layer as active in the Layers section of the left panel.
- Click the project name at the top left and choose Import.
- Drag your .skp file onto the Import dialog, or click Or Browse File and select it.
- Check the model on the canvas after the import finishes.
SketchUp files appear under 3D Files, alongside .fbx and .obj. If your BIM tool reads IFC instead, export from SketchUp with classes assigned and import the IFC file. Follow the receiving tool's own steps for that route.
Step 7: Check what survived
The help center does not list which SketchUp elements survive a direct .skp import. Treat every item as unverified until you check it. A short checklist catches most problems:
- Dimensions: Measure three known distances, such as a wall run, a floor-to-floor height and an overall width. Compare them with the SketchUp file.
- Position and orientation: Confirm the origin, north direction and level elevations. A model that is correct but misplaced will fail every downstream check.
- Counts: Compare the number of doors, windows and repeated elements with the source. A missing or doubled count points to a grouping problem.
- Materials: Look at colors and textures. Reapply anything that did not come across.
- Tags and layers: Confirm each tag landed where you intended. Look for geometry that sits on the default layer by mistake.
- Hidden items: Check that nothing hidden in SketchUp reappeared, and that nothing needed disappeared.
Log every difference you find. Decide whether the import is accepted, accepted with exceptions or rejected. That three-way call keeps the review honest.
Step 8: Turn geometry into BIM objects
An imported model is still geometry. It becomes a building model when walls, floors, roofs and rooms carry their own data. This is where Snaptrude's BIM mode takes over, converting massing into BIM elements and supporting uploaded families and firm-standard objects.
Do not accept the conversion on sight. Test real follow-on edits. Move a wall, change a floor-to-floor height and check that the schedules, sections and quantities respond.
Look at wall thickness, openings and spaces. A massing has volume, but it does not always have the right thickness or the right openings. Correct those in the model, not in a side file.
Keep the architect's judgment in the loop. Software converts the geometry, but a person decides whether the building is right. Snaptrude supports that review, and it does not replace the architect.
Step 9: Validate before you hand it off
Validation is the last gate before a consultant sees the file. Export an IFC, then open it in a second viewer. BIMcollab's free ZOOM tier offers basic IFC viewing and validation, which makes it a low-risk second opinion.
For repeatable checks, use an information requirement. buildingSMART's Information Delivery Specification became an official standard on June 1, 2024. It checks IFC models for required objects, classifications, materials, properties and values. A rule might require every wall to carry a fire rating.
Two Snaptrude export details are worth knowing. Layers hidden in the left panel are left out of every export. IFC export is unavailable on the Free plan, and a third-party cloud service outage can interrupt it.
What about going back to SketchUp?
Some teams need the round trip. The help center describes an IFC route from Snaptrude back to SketchUp. It has a clear limit, because the IFC route does not carry over materials.
Export the model as IFC from the Export menu, then choose Begin Export. Snaptrude runs one export at a time, so wait if another is running. In SketchUp, choose File, then Import, and set the type to All Supported Types or IFC File Format.
On import, SketchUp lets you choose Use IFC Classes, Use IFC Layers or Don't Create Tags. Pick the option that matches how you want the model organized. Then reapply your materials.
Common traps and how to avoid them
Most data loss comes from a short list of avoidable mistakes. These are the ones we see most often:
- Saving in a newer SketchUp version than the importer supports. Use Save As and pick 2024 or earlier before importing into Snaptrude.
- Importing onto the wrong layer. Set the target layer as active first, because imports go to the active layer.
- Skipping the purge. Unused materials and components add weight and clutter that you then carry into the BIM model.
- Assuming IFC is lossless. SketchUp itself warns that some entities may not export, so check the file right away.
- Forgetting hidden layers. Anything hidden in the left panel is left out of every export.
- Trusting a file because it opens. An opened file is not a usable delivery until it passes your own checks.
Frequently asked questions
Can I open a .skp file directly in a BIM model?
In Snaptrude, yes. The help center lists .skp among the 3D files you can import, for files saved in SketchUp 2024 or earlier. Other BIM tools differ, so read their import notes before you rely on the route.
Does the IFC route keep my materials?
Not reliably. Snaptrude's help center says the IFC route back into SketchUp does not carry over materials. Test the SketchUp-to-IFC direction on your own file before you depend on it.
Do I have to rebuild the model in the BIM tool?
Not necessarily. A clean .skp import gives you geometry to work from, and BIM conversion then adds building objects. You still need to check the result and fix what the conversion misses.
Can I test this on a free plan?
Snaptrude's help center says model and drawing export, including IFC, is not available on the Free plan. Confirm what your plan includes with the Snaptrude team before you plan a full handoff.
Should I import the whole project at once?
Start with one building or one story. Snaptrude's CAD import guidance advises splitting large files, and the same caution suits 3D models. A smaller slice is easier to inspect, and a failure is easier to trace.
What should I do if the import looks wrong?
Recheck the file version first, then purge and save a fresh copy. Compare a few measured distances against the source. If the problem persists, import a small slice and try the IFC route for comparison.
Conclusion: Treat the import as a conversion
Choose native .skp import when you want existing massing inside the BIM model. Clean the file, save a compatible copy and check the result on the canvas. Keep the original untouched.
Choose IFC when classes and a neutral format matter more than convenience. Assign classes in SketchUp, check the version your receiving tool expects and verify the export straight away. Use mesh formats for context only.
Whichever route you pick, log what changed and decide whether to accept the import. That habit protects your data and your reputation with consultants.
Want to see how your own SketchUp file behaves? Start with Snaptrude's free plan, or book a demo and bring a real file. We will walk through the import and check the result together.